Free Pattern Of Stylish And Easy Crochet Hat
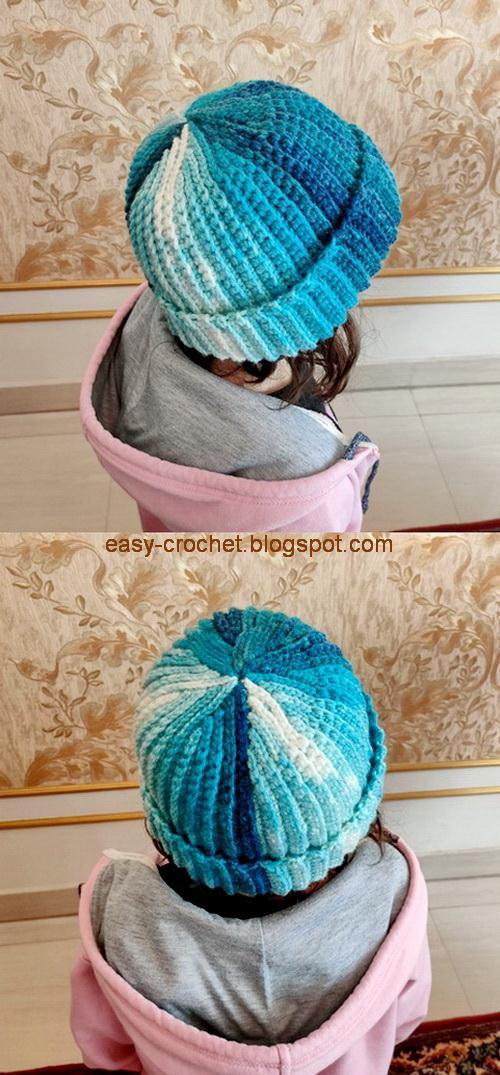
Stylish And Easy Crochet Hat

This Ribbed unisex beanie is an easy crochet project that is incredibly gratifying to create. It is an warm and cozy hat ideal for winter months! You can craft it with under one 100-gram skein of yarn, making it quite budget-friendly. Also, beanies are fantastic gift ideas.
Skill Level: Beginner/Easy
Materials
- Crochet Hook : 7 ( 4.5 mm )
- Yarn Weight : Light Weight
- Yarn: Around 100 grams
- Measuring tape , Tapestry needle and Scissors
Crochet Hat Size : kids XL / Adult XS
- (1) Circumference: 53cm - 20.866" (to determine the number of rows needed)
- (2) Front to back: 38cm - 15" (to determine the stitch frequency)

You can select your preferred yarn for crafting this hat. However, the yarn type and hook size will impact the final hat size. To achieve the desired hat size:
Create a sample of 10 stitches by 10 rows and measure it Ensure it is approximately (6.25 cm x 7 cm) or (2.46 inches x 2.756 inches)

Tip
Typically, crochet hats are crafted with a negative ease of 1-1.5 inches (3-4 cm), which varies based on the stitch pattern and elasticity.
pattern
This design is created by repeating a segment "consisting of (10) rows measured (27 cm x 6.25 cm)"
8 times.
Every row comprises two parts: (A) using (sc blo - single crochet back loop only) and (B) using (sl st blo – slip stitch back loop only).
To start: Make a 42 chains, which measures approximately 27 cm (19cm for hat height + 8cm for folded brim height).

Note
Crocheting each segment takes around 15 minutes, so it takes about 2 hours to complete the hat. Allow an additional 20 minutes for finishing , resulting in a total time of two and a half hours to create this lovely hat.
Finishing
1- Close the top hole tightly with the yarn needle.

2- Finishing: Seam the sides of the hat together.

Seam the sides of part (B) together using a yarn needle.
Then
Seam the sides of part (A) together with a simple slip-stitch seam through loops on both edges.


